

Do you want to become a professional blogger and Make Money Blogging?
Yes, indeed! You can accomplish both at the same time!
What could be more fulfilling than pursuing your love while earning a side income, after all?
Many reasons lead people to begin blogging, but some of the most common ones are as follows
- To improve your writing ability
- To learn new skills
- To inspire your audience
- To build your online brand
- To generate an income
- To meet new people
- To land your dream job
6 Easy Steps to Start a Blog
Here are the 6 Easy steps that you will need to complete to start your blog and make money
Step 1: Choose your blogging platform
Step 2: Register your Domain name and purchase Hosting plan
Step 3: Install WordPress on Hostinger and Design your Blog
Step 4: Create a new Page, Post and some essential pages
Step 5: Start getting traffic to your blog
Step 6: Make Money Blogging
Step 1: Choose your blogging platform
You must choose a blogging platform, or a program that assists you in publishing your content online, in order to launch a blog.
Though there are other blogging platforms available, With good reason, WordPress is the most widely used blogging platform.
Here’s the confusing part about WordPress:
There are actually two different platforms named “WordPress”:
WordPress.com
You can easily start a free basic blog with WordPress.com. However:
You never truly own your blog to the fullest extent because you don’t have complete control over your website.
Because you need to purchase a costly business plan in order to access WordPress plugins or themes, customizing your website is challenging and it places limitations on your site’s ability to be monetized.
WordPress.Org
When you use WordPress.org for self-hosted WordPress, you install the free WordPress software on your own web server, giving you complete control over your website.
Although it takes a little longer to get going, the benefits are well worth the extra work.
My recommendation is to go with WordPress.org – you’ll have a little more work in the setting up phase, but in the long run you’ll have full control over the look, feel, features and monetization of your site. It could end up cheaper for you too!
Step 2: Register your Domain name and purchase Hosting plan
Domain Name
You’ll need a domain name (your blog’s address) in order to launch your blog and have a place to live on the internet.
It can be difficult to obtain a domain name that isn’t already taken, but every blog needs one! My domain name is www.datadrivehub.com.
there are a few other things to take into account while selecting your domain name, such as:
- How easily your domain can be read, how easy it is to say and recall, etc.
- Distinctiveness, what your domain says about you
- Picking a domain name rich in relevant keywords will boost your website’s search engine ranking.
Hosting
WordPress will be installed on web hosting. This server is available around-the-clock, and everything related to your blog, including future graphics and designs, will be housed on it (hosting).
Our recommendation is Hostinger
Your website will be operational around-the-clock in this way.
There are many hosting companies available, but for your blog:
The best option is Hostinger since it provides all the tools required to start a blog. characteristics such as:
- Free SSL
- Unlimited bandwidth
- Unlimited storage
- Free domain name (Saving of $12/year)
- Easy to use cPanel.
- Live chat support
- 30 days money back guarantee
- Best of all, it only costs $2.99 a month
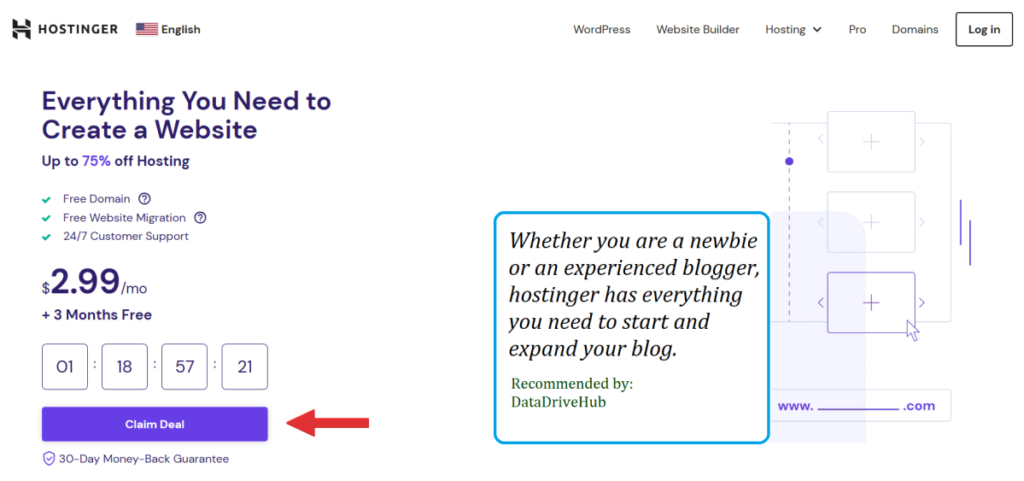
2. Pick the Premium Web Hosting Plan, Which costs just $2.99 per month
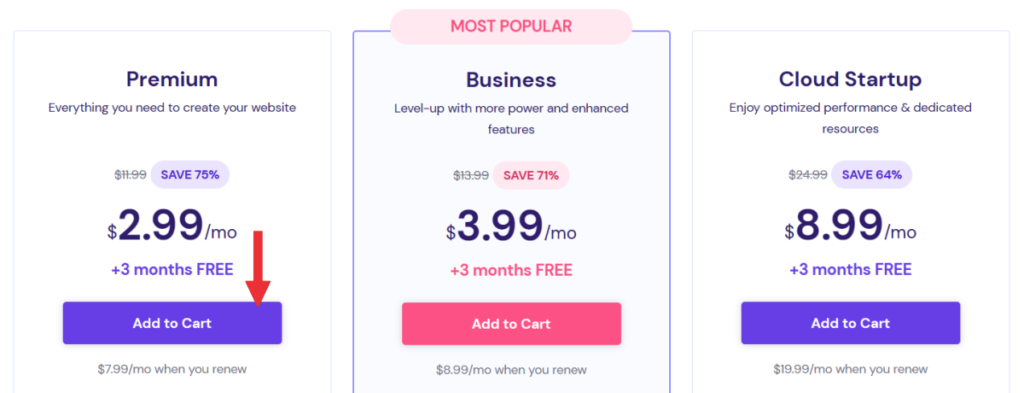
3. Click on the Add to Cart Button to continue
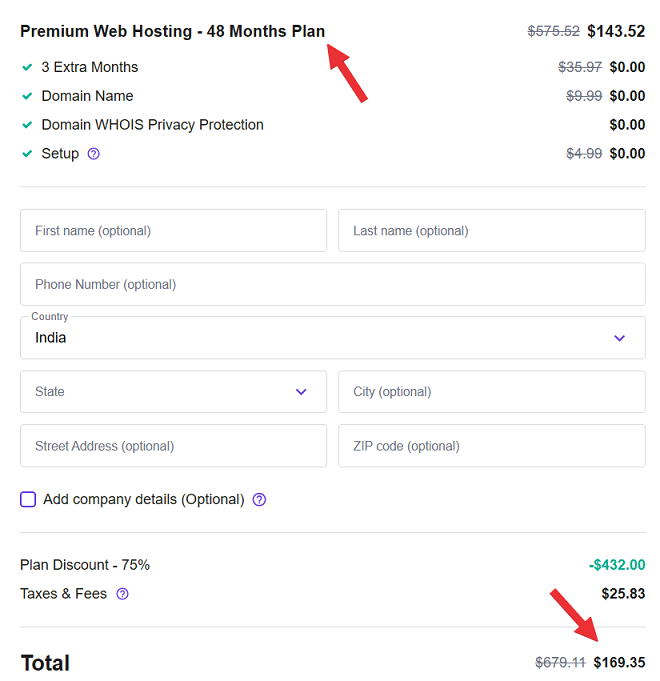
As you can see you will be charged only $169.35 for the first 48 months
That’s it you are done!
Step 3: Install WordPress on Hostinger and Design your Blog
Installing WordPress on Hostinger hosting is so easy.
We’ve written a simple step by step tutorial on How to install WordPress on Hostinger to start a blog in just a few minutes and it’s also included all the screenshots.
Design your blog with Themes and Plugins
Themes
Choose a WordPress theme (how your blog looks) and Plugins
A WordPress theme controls your blog’s appearance and, to a lesser degree, some aspects of its functionality. It’s like your website’s clothing.
Although there is a default theme for your blog, most users prefer to customize their blogs with a custom theme.
The good news is this:
There are thousands of free and premium WordPress themes available due to its popularity
There’s nothing that automatically makes a premium theme superior to a free theme, despite the attempts of certain individuals to scare you into paying for one.
Premium themes often have better designs and features, but that’s not universal. Thus, feel free to start using one of WordPress.org’s free themes if money is limited.
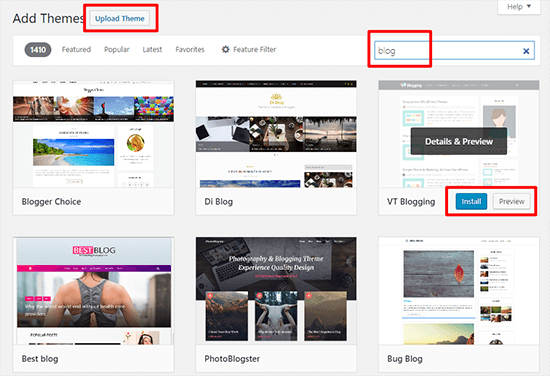
How to install your new theme
To install your theme:
- Go to Appearance → Click Themes in your WordPress dashboard
- Click Add New

- Click Install after doing a name search for any free themes you find on WordPress.org.
- Click Upload Theme for premium themes, then upload your theme’s ZIP file.
Make sure to click the Activate button to bring your theme live on your website after installing it on your site using one of the methods above!
Plugins
Plugins are all about functionality, whereas themes are largely about appearance. You may add almost anything, from a basic contact form to a whole eCommerce store!
In addition, unlike themes, you can use as many plugins as you want although you should attempt to use only plugins that are really necessary.
For your website, you can discover both free and paid plugins.
How to install WordPress plugins
To install WordPress plugins:
- Go to Plugins → Click add New in your WordPress dashboard
- For free plugins you found at WordPress.org, search for the plugin by name and click Install Now
- For premium plugins, click Upload Plugin and upload the ZIP file
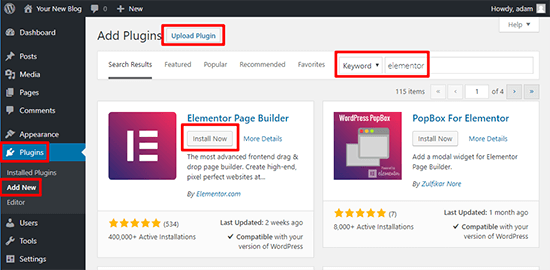
Be remember to activate any plugins you install. After that, you can read the plugin’s instructions to find out how to utilize it on your website.
Step 4: Create a new Page, Post and some essential Pages
Posts (also known as “dynamic pages”) are commonly used for blogs and portfolios since they automatically place the most recent website content at the top of your featured content.
Pages are static, which appeals to business owners because the added content remains in the same spot.
How to create a Post
Begin by determining whether you want a post or a page to act as your website’s homepage (or any page).
Go to the admin dashboard, select Posts, and then Add New to add a new post to your website.
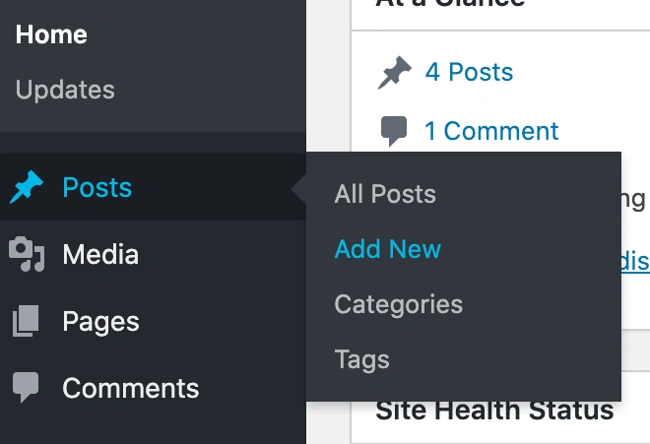
You can use blocks and shortcodes to add a headline to your article, insert photographs, adjust the format, and insert page components. Click Save Draft to preserve your changes as a draft, or Publish to publish the post instantly.
How to create a Page
Adding a page to your website is a similar process. In your admin area, click Pages, then Add New.
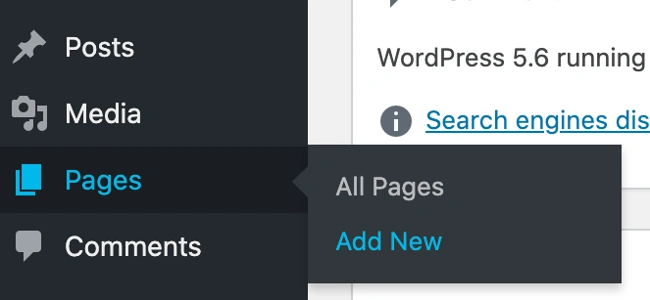
First, add a title to your page. Next, you can insert photos, embed videos, and add content. Follow the same steps to create multiple pages for your website. When finished, click Save Draft or Publish.
Below are some of the essentials Pages required for a blog
- About
- Contact Us
- Privacy Policy
- Disclaimer
- Terms of Service
5. Start getting traffic to your blog
You should have a good understanding of the fundamentals by this time. You’ve finished the technical details and begun developing content.
When you start putting that stuff out there, you’ll most likely enter the next stage of blogging, when you’ll begin to wonder:
“Come on, I’m putting all this material out there. Wouldn’t it be fantastic if people read it?”
If you construct it, some people will come. But it will almost certainly require more than that to generate traffic.
So, how can you gain visitors to your blog when you’re just getting started?
Here are two tried and true strategies:
Learn the fundamentals of SEO and apply them to your website. While you don’t have to become an expert, knowing these fundamentals will make it much easier for your website to be found in search engines like Google.
Create social media profiles and begin promoting your site on them. Some social networks, such as Facebook, Pinterest, can be very beneficial to bloggers.
Step 6: Making money Blogging
I understand that not everyone is interested in making money through blogging. But I’m sure most people wouldn’t mind earning a little extra money from their blog, right?
Fortunately, there are an endless number of options for monetizing your site. Here are a few of the most popular choices:
Advertising
You may either sell ads to firms in your niche directly or utilize a service like Google AdSense to display the ads for you. While Google AdSense isn’t usually extremely profitable, it’s a simple, hands-off approach to create at least some cash from your site.
Affiliate promotion
Affiliate marketing compensates you for connecting potential customers to a product or service. When done correctly, you get compensated to suggest people to things you believe in.
Provide a service
Many successful bloggers make money by providing a service related to their expertise. Many other bloggers, for example, make a full-time career just by producing blog entries for others. And I’m sure you can do the same if you have a good blog!
Aside from those three techniques, there are an infinite number of more creative ways to make money from your blog
But keep in mind:
Making a Blog work involves time, effort, and money. And it may take some trial and error to get it perfect.
You’ve made it to the end of our blog-starting guide. Awesome!
But for now, congratulate yourself on a job well done since you had the courage to start a blog!